Fabulous Felted Vests & Jackets is now part of a huge composite book that contains Jackets, Comforts, Hats & Bags. You may still buy the books separately for $20 each by e-mailing me to ask for an invoice but the composite of 4 books is available as an instant download for $60.

 See Felted Bags
See Felted Comforts
See Felted Footwear
See Felted Bags
See Felted Comforts
See Felted Footwear
|
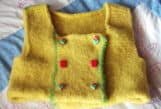 |
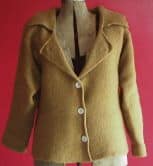
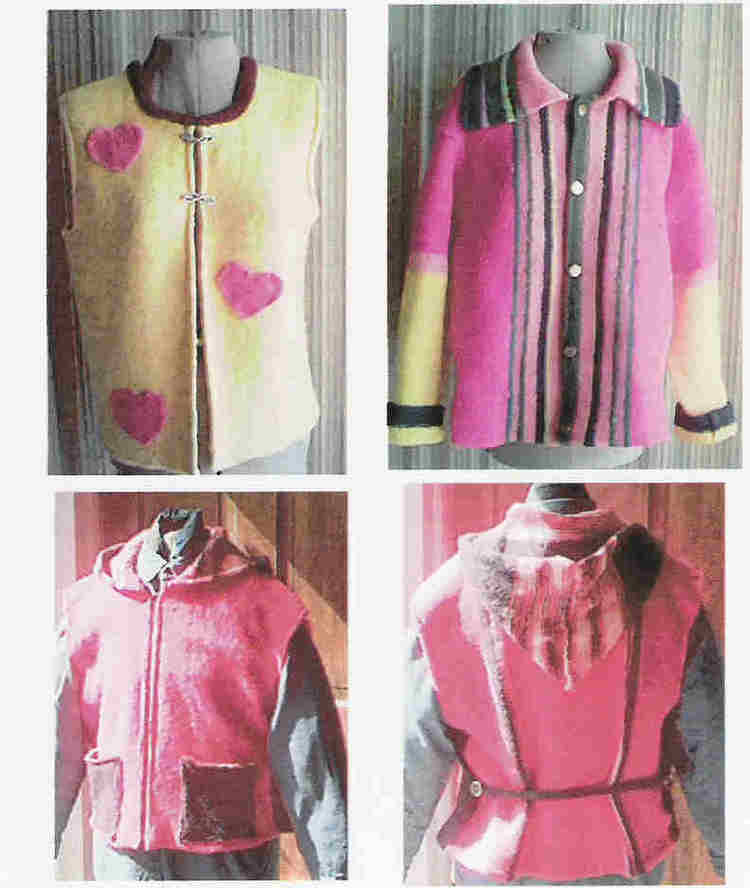
FABULOUS FELTED VESTS & JACKETS
All machines can use this pattern. Bulkies Use 100% wool worsted. Standard, Passap and mid-gauge use sport weight. Standard and Passap knit on every other needle. Garment is knitted, big, loose and sideways, then felted to perfection. Full felting instructions are included. Style options include basic vest & jacket, button bands, collars, hoods, double breasted, pockets, appliques and even lapels. Clear charts, lots of illustrations and simple instructions make vests and jackets lots of fun. Even new knitters can handle the project. This will be sent as a pdf file by instant download for $20 (24 pages.)
Many, many versions for all gauges of machine and chest sizes 20-60"
If you want this book, please e-mail me your request. I will invoice you through paypal and e-mail it when the payment is received.
|
 |
|